
A workshop cuts exactly what the cutting list says. If a size can be read two ways, the part can come back two ways.
A cutting list for kitchen cupboards is a table of every panel in the job, one row per part, giving the finished length and width in millimetres, the material and thickness, the quantity, which way the grain runs and which edges get edge banding. With those filled in, a workshop can price and cut the job without guessing.
Most of that is obvious. What catches people out is what a list leaves unsaid: whether a size includes the edging, which dimension the grain follows, and which of the four edges are banded. This guide covers what to put in each column, a worked example for a standard 600mm base unit, and a template that adds up your panel area and edging as you type.
It is written from the side that receives the lists. Zenith Manufacturing cuts, routes, drills and edges panels for kitchen manufacturers, cabinet makers and joinery companies from our workshop in Dunleer, Co. Louth, and a cutting list is one of the three things we quote from, alongside a technical drawing or a specification. More on that side of the work is on our outsourced CNC routing and panel cutting page.
What is a cutting list?
A cutting list is the set of finished sizes for every panel and component needed to build a piece of furniture or cabinetry. It is not a drawing. It says how big each part is and how many there are, not where the holes go.
In a panel workshop the list is usually loaded into optimising software, which works out how to cut every part from full sheets with the least waste, starting with the largest panels and recovering the smaller ones from what is left. That is why a list should be complete before it is quoted: add one panel later and the whole sheet layout can change.
It is also why a cutting list on its own is enough for plain panels, but not for parts that are drilled or routed. For those, send the drawing as well, so the hole positions and profiles are fixed on paper rather than inferred.
How to make a cutting list: the columns it needs
Whether you write it in a spreadsheet, export it from design software or fill in the template further down, a usable cutting list has the same columns.
| Column | What goes in it |
|---|---|
| Part | A name and a cabinet reference, for example “B1 side”. This is what ends up on the label, so it should tell whoever assembles the job where the part goes. |
| Material | The board and its decor or finish, written the same way on every row. “White MFC” on one line and “MFC white” on the next looks like two materials. |
| Thickness | In millimetres. Parts in a different thickness, such as a thinner back panel, get their own rows. |
| Length | In millimetres, listed first. Say whether it is the finished size or the cut size (see below). |
| Width | In millimetres, listed second. |
| Quantity | How many identical parts. One row per part type, not one row per part. |
| Grain | Whether the grain or pattern has to run along the length. It only matters on woodgrain, veneered or patterned boards. |
| Edging | Which edges get edge banding, marked edge by edge as L1, L2, W1 and W2, and the edging type. |
| Notes | Anything the sizes cannot say: a drawing reference for drilling or routing, a handle profile, parts that must come from one sheet so they match. |
Keep every size in millimetres and never mix units within a list. A size written as 72 when 720 was meant is easy to spot on a single line and very hard to spot in a list of eighty.
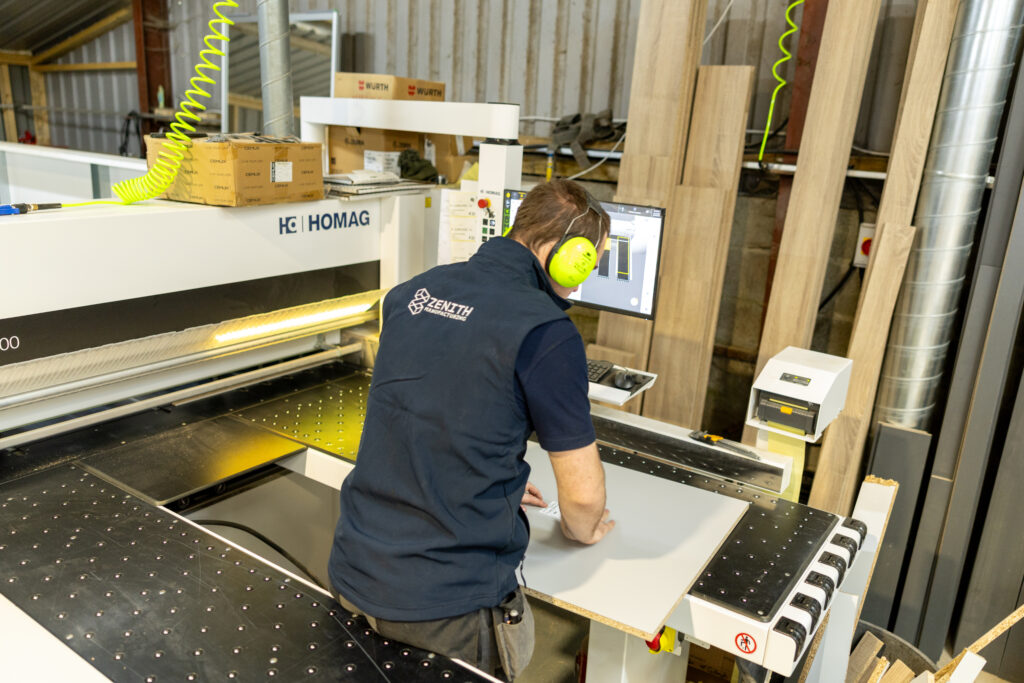
How to mark grain direction on a cutting list
On a plain board, such as white MFC or raw MDF, the grain does not matter. The workshop can turn a part whichever way nests best on the sheet, which usually means less waste.
On a woodgrain decor, a real wood veneer or a patterned laminate it matters a great deal. Every visible part has to be cut with the grain running the same way, or a run of doors and end panels will not match. A part cut across the grain cannot be put right afterwards. It has to be cut again.
Many cutting lists put the length first and read it as the grain direction, so a 720 × 552mm side has its grain running along the 720mm. Not every workshop or piece of software follows that convention, which is why a grain column earns its space. A plain yes or no against “grain along length” removes the doubt.
If only some parts need the grain fixed, say which. Locking the grain on parts nobody will see, such as the back of a carcase, takes away the workshop’s freedom to nest them and can cost you extra board.
Finished size or cut size: say which
A cutting list is normally a list of finished sizes: the size each part should measure once it is complete. Edge banding complicates that, because the banding has a thickness of its own, commonly 1mm or 2mm, and it goes on after the panel is cut.
So a side listed at 552mm wide with a 2mm edge on its front can end up one of two ways. Either the workshop cuts it at 550mm so it finishes at 552mm, or it cuts it at 552mm and it finishes at 554mm. Both conventions are in use, and neither is wrong. What goes wrong is a list that does not say which one it follows.
A slab door with 1mm edging on all four edges, cut at its finished size and then banded, comes out 2mm too wide and 2mm too tall. Across a run of six doors that is 12mm, most of the 15mm of gaps that the same run needs in our kitchen unit sizes guide.
The same thinking applies to the sheet itself. You cannot plan parts to use every millimetre of a board, because each saw cut removes a strip of material, and a CNC router’s cutter removes more than a saw blade. List the sizes you need and leave the nesting to the workshop.
The fix is one line at the top of the list: “All sizes are finished sizes, including edging”, or the opposite. It takes ten seconds and answers a question the workshop would otherwise have to ask, or guess.
A list that does not say whether its sizes include the edging leaves the workshop to guess. A guessed size is cut just as firmly as a correct one.
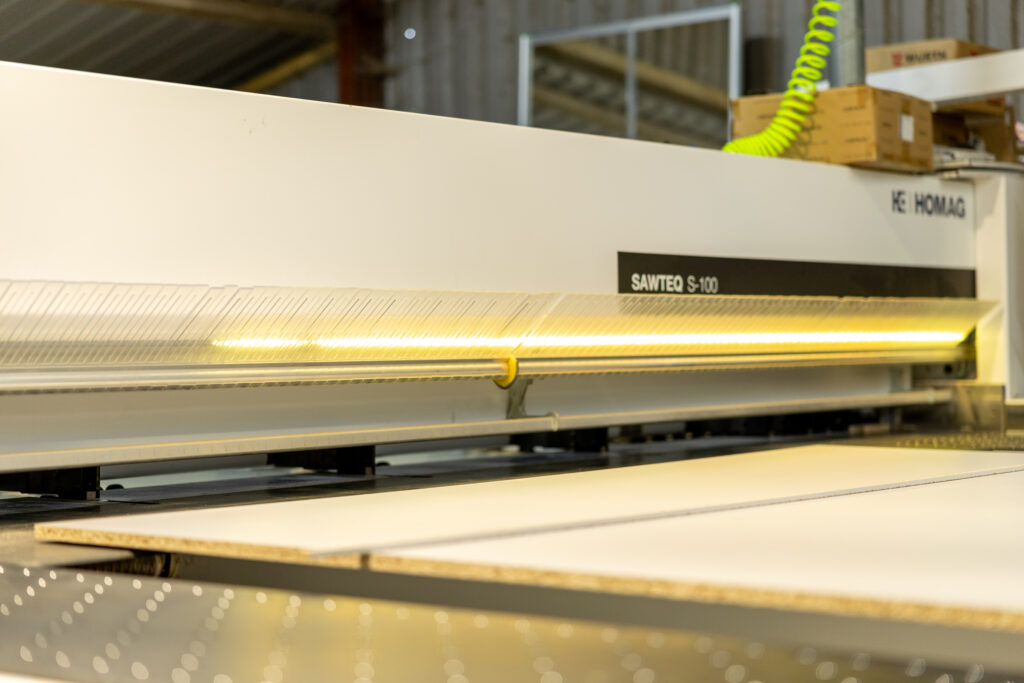
How to mark edge banding on a cutting list
Every rectangular part has four edges: two long and two short. The usual shorthand calls the long edges L1 and L2 and the short edges W1 and W2, and a cutting list marks each one that gets banding. A tick, a letter or an edging code in the right column is enough, as long as it means the same on every row.
| Mark | Which edge |
|---|---|
| L1 | First long edge. Use it for the front or most visible long edge, and keep to that across the whole list. |
| L2 | Second long edge. |
| W1 | First short edge. |
| W2 | Second short edge. |
As a rule of thumb, band the edges that will be seen or touched: the front edge of a side, a base or a shelf, and all four edges of a slab door or drawer front. Edges hidden against a wall, a worktop or another panel are usually left bare.
If some parts take a different edging, such as a thicker edge on doors than on carcase parts, give it a code and note it on the row. At Zenith, edging is part of the same job: panels are cut on the beam saw and finished on the edgebander without leaving the building, as set out on our panel cutting, drilling and edge banding page.
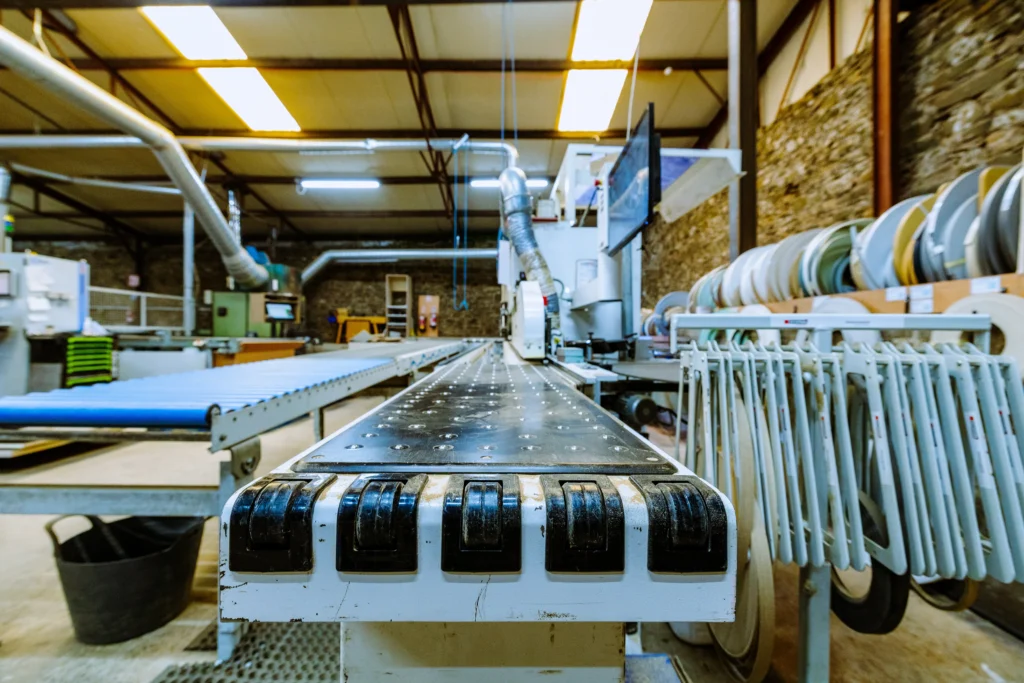
What a cutting list for kitchen cupboards looks like
Here is the carcase of one standard base unit written as a cutting list. The assumptions matter as much as the numbers, so they come first:
- Unit size. 600mm wide, 720mm high and 570mm deep, the standard base carcase sizes set out in our guide to standard kitchen unit sizes.
- Board. 18mm throughout, the thickness Irish carcase makers commonly build in, in a woodgrain decor so the visible parts have their grain fixed.
- Construction. The sides run the full height, the base sits between the sides, and an 18mm back is fixed across the rear, so the sides and base are 570mm less 18mm, or 552mm, deep.
- Edging. Front edges only. Rails and shelves are left out to keep the example short.
| Part | L × W (mm) | Qty | Grain fixed | Edge |
|---|---|---|---|---|
| B1 side | 720 × 552 | 2 | Yes | L1 |
| B1 base | 564 × 552 | 1 | Yes | L1 |
| B1 back | 720 × 600 | 1 | No | None |
The base sits between two 18mm sides, so it loses 36mm from the 600mm unit width: 600 less 36 is 564. Every part that fits between the sides, from the base to the rails and shelves, loses the same 36mm, and shelves usually lose a little more so they drop in without binding. Decide how much, and put that number on the list.
Four parts on three rows. Add the material and thickness, as the template below does, and the list carries everything a workshop needs to price the job. A full kitchen is the same list, only longer, with a cabinet reference on every part so each one can be traced to its unit.
Cutting list template
The template starts with the worked example loaded, which comes to four parts, 1.54 square metres of panel and 2.00 metres of edging. Clear it to start your own, and fill in one row per part type. The totals update as you type, worked out from the sizes and edges you enter. When the list is done, copy it into an email or download it as a spreadsheet file.
The template needs JavaScript switched on. The columns it uses are listed in the table in section 02.
The template runs in your browser. Nothing you type is saved or sent anywhere, and the totals are arithmetic from your own figures, not a quotation.
Checklist before you send a cutting list
Run down this before the list goes to anyone:
- Units. Every size in millimetres, with no stray centimetres.
- Finished or cut. One line at the top saying whether the sizes include the edging.
- Grain. Marked on every visible part in a woodgrain or patterned board, and left free on hidden parts.
- Edging. Every banded edge marked as L1, L2, W1 or W2, with the edging type.
- Materials. Board, decor and thickness on every row, spelled the same way each time.
- Quantities. Checked against the drawing, especially pairs such as left and right sides.
- References. A cabinet reference on every part, so each part can be traced to its unit.
- Drawings. Attached for anything drilled, routed or shaped, because a cutting list gives sizes, not positions.
If you are not certain the list covers everything, send it anyway along with the drawing. We will tell you what is missing before anything is cut.

Common questions
What is the difference between a cutting list and a drawing?
A cutting list gives the size and quantity of every part. A drawing shows how the parts go together and where the holes, grooves and profiles sit. Plain panels can be cut from the list alone, but anything drilled or routed needs the drawing too, so the positions are fixed rather than assumed.
Should the sizes on a cutting list include the edge banding?
Either can work, as long as the list says which. A cutting list normally gives finished sizes, and edge banding, commonly 1mm or 2mm thick, is added after the panel is cut. Put one line at the top of the list stating whether the sizes include the edging, so nobody has to guess.
Do I need special software to write a cutting list?
No. A spreadsheet, the template on this page or a neatly ruled sheet of paper will do, as long as it has the columns: part, material, thickness, length, width, quantity, grain and edging. Kitchen and furniture design software can export a list for you, but check its grain and edging marks before you send it.
Is a cutting list for a wardrobe any different from one for kitchen cupboards?
No. The columns are the same for any carcase, whether it is a kitchen cupboard, a wardrobe or a bookcase. Only the part names and sizes change. Tall sides in a woodgrain board deserve a second look at the grain column, because a side cut the wrong way is hard to miss on a wardrobe.
What happens after I send a cutting list to Zenith?
We price the job from the list, the material and the quantity. Once you approve the quotation the order is confirmed, the job is programmed in CAD/CAM and scheduled, and the parts are machined, checked against the agreed specification, then packed and clearly labelled for delivery.
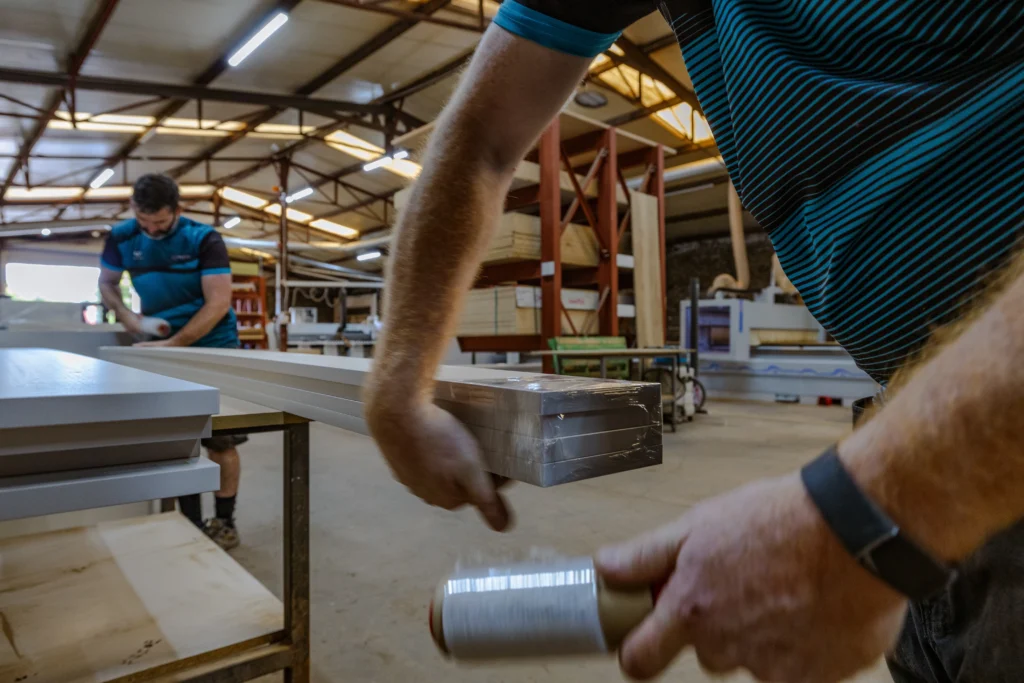
Getting a cutting list quoted
Zenith Manufacturing cuts, routes, drills and edges panels for kitchen manufacturers, cabinet makers, joinery companies and fit-out contractors across Ireland, from our workshop in Dunleer, Co. Louth. Panel cutting runs on a HOMAG SAWTEQ S-100 beam saw, and exposed edges are finished on the edgebander in the same building.
Email your cutting list, with the material, the quantities and any drawings, to info@zenithmanufacturing.ie, or call 087 655 4203, and we will come back to you with a price. If you would rather start with a message, use the contact form. Once a job has been programmed it can be run again from the same file, so a repeat order matches the first.
How the machining side works, from panel cutting to drilling and edging, is set out on our CNC routing services page. For the unit sizes behind a kitchen list, see standard kitchen unit sizes in Ireland.